For the past several Sundays, I have been working on a painting during Sadie J Valeri's advanced still life painting course. I have taken Sadie's oil painting course in the past, which I wrote about HERE. This time, I was interested in moving forward with a subject of my own choosing and practicing the Classical Realism techniques I learned in the first course. The Advanced Open Studio takes place all day on several consecutive Sundays. I will break up what I am learning into several blog posts as I go along in the course.
Feel free to leave comments if you have any questions. I will do my best to find the answer and share what I've learned so far. :)
******************************************************************************
Notes
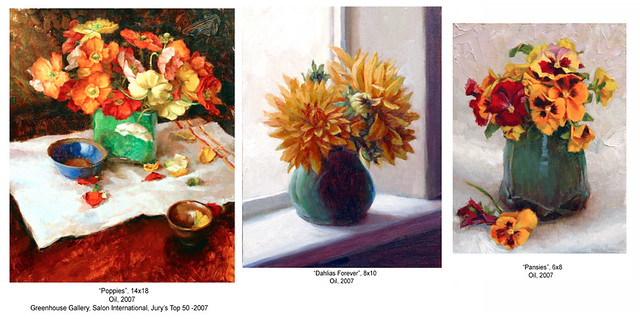
When painting still life subjects in the past, I have simply set up an adjustable table, arranged some things I liked, and then lit it all with either a north window or a spot light and painted in the alla prima manner. Here are a couple of examples of paintings I did in the past.
The problems and questions I encountered working on my own were numerous. I did not seem to be able to find the answers to my questions anywhere other than within the classical realist school of painting. Fortunately, Sadie J. Valeri's Atelier is literally right down the street from where I work and live - what an incredible opportunity to expand my knowledge base and develop my work further!
Some of the problems I ran across in my still life paintings were:
- how close to the set up should I be in order to approximate life size? In the past, occasionally I would set up a still life, tape up some canvas on my art board, spend hours drawing everything out and then realize afterwards I drew everything too large. Why was I was making this mistake and sometimes not?
- Sight size or construction? What is the difference and where do I fall in the debate? How can I ensure accuracy?
- how can I achieve dramatic lighting? North light is ideal of course, but sometimes I want drama in my still life paintings. Just placing a spot light seemed like it wasn't getting the effect I wanted. I was curious to know what I could do to manipulate the light.
- basic equipment. Believe me, as simple as it sounds to set up a still life, I have tried so many options for equipment.What is a good set up that I can work with for the long term and add to it as my interests grow?
- am I truly understanding how light moves across a surface? How does the light affect chroma, hue and value in each area? How can I be more deliberate in my color choices?
- Which do I want to emphasize, value or color?
- Perspective. I often wondered about how perspective was affecting my still life, and how to control it. When working, it is impossible to keep your eyes and body at exactly the same location, which alters the point of view. How can the point of view be controlled in the final painting?
- which method of painting suits my temperament? There are a few schools of thought and approaches to painting. Which one seems right for me?
- What do I want to say? Perhaps the most important question of them all.
Part One/ Equipment
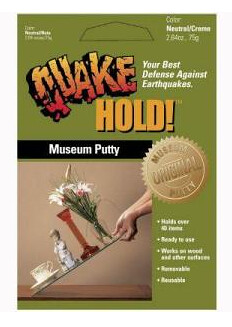
To secure the objects in my set up, I used Quake Hold Museum Putty. The putty is like chewing gum, but with less chew. It will hold just about anything in place. Highly recommended for keeping your subjects secure while working on a long term painting.
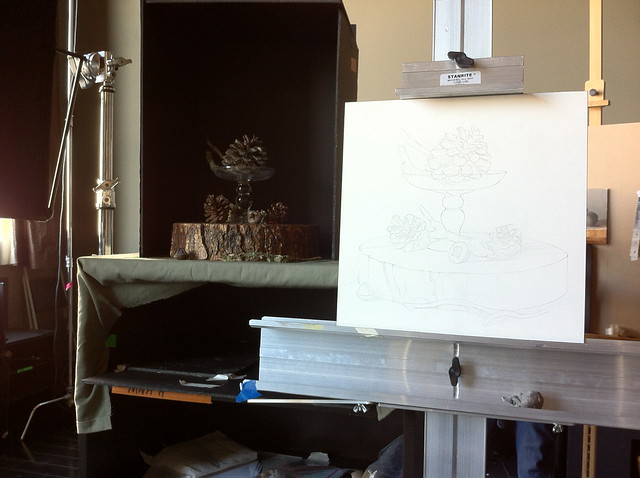
At Sadie's Atelier, we place our still life subject in a shadowbox. The shadowbox is composed of three sheets of black foam core, taped with black tape on all sides (I hadn't taped up the sides yet in this photo). To the left of my set up is a HUGE North light window which provides consistent lighting but is a bit too strong, washing everything out. The shadowbox controls the light to exactly the effect I want, without having to worry about too much bounce light coming from another direction. In the future I plan to experiment with different backdrops using colored paper or cloth inside the walls of the shadowbox.
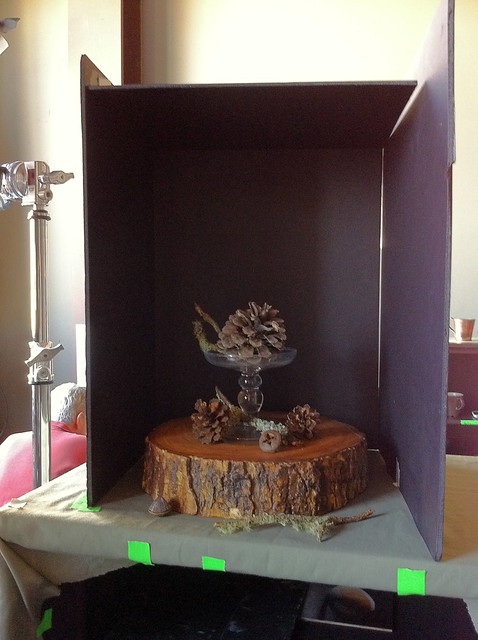
To control the light even further and get REALLY nice light effects, Sadie set up a photographers flag. I have found it revolutionary; moving the flag back and forth allows light to come into my still life area a little at a time, creating exactly the effect I want.
The photographers flag comes separately and needs to be attached to a stand, which also can be purchased at a photography supply store.
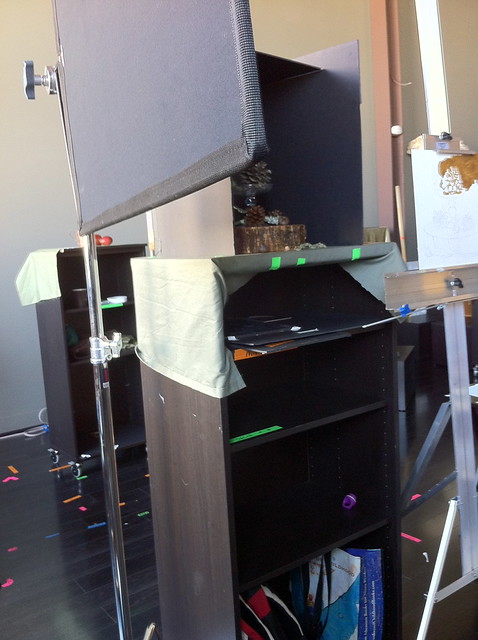
The shadowbox and still life sits on top of a tall black stand while my supplies sit on the bottom shelves. If I would like to change the point of view, I can paint a new set up on a different shelf while having a built in shadowbox to maintain the light.
 Ikea shelf unit:
$10 for 2/pk
The shadowbox and still life sits on top of a tall black stand while my supplies sit on the bottom shelves. If I would like to change the point of view, I can paint a new set up on a different shelf while having a built in shadowbox to maintain the light.
Besta Shelf Unit
Also use these caster wheels, they are made to attach to the bottom of the shelf unit:$10 for 2/pk
To my right is a table for my supplies. The table simply holds the supplies I am using during the session, like my pencils, sandpaper, my notes, paints and mediums. Sadie keeps a shop cloth on top to keep the table clean. Usually I store only what I need on the top level and keep the rest in the black shelving unit that the still life sits on. I don't like to have too many things out all at the same time. If I do, my table becomes cluttered which ends up distracting me from the task at hand on the painting.
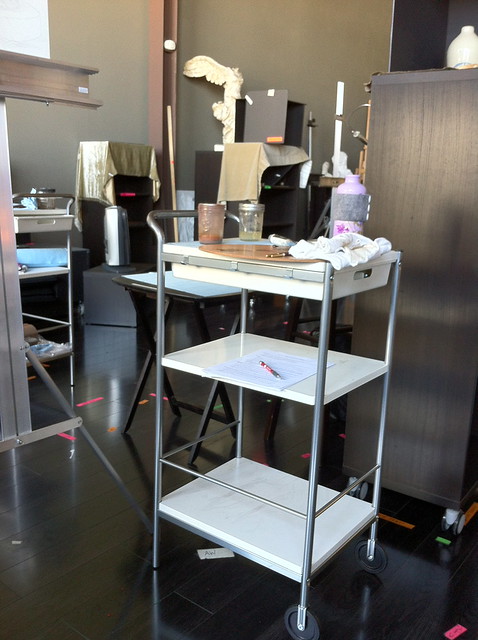
this side table to hold my supplies stands about waist high, which is nice so I don't have to keep reaching down too far to get my supplies.
The easel I use is at eye level height. It is a simple Stanrite metal easel. I like using this lightweight easel because the top and bottom bars that hold your panel have grooves, which secure a thin panel. The grooves are a minor but important detail that make a big difference; I no longer need to worry about my panel shaking while I work or become distracted momentarily by having to tighten the top bar to tighten the hold on the panel.
The easel I use is at eye level height. It is a simple Stanrite metal easel. I like using this lightweight easel because the top and bottom bars that hold your panel have grooves, which secure a thin panel. The grooves are a minor but important detail that make a big difference; I no longer need to worry about my panel shaking while I work or become distracted momentarily by having to tighten the top bar to tighten the hold on the panel.
The sturdy, lightweight, and economical stanright easel.
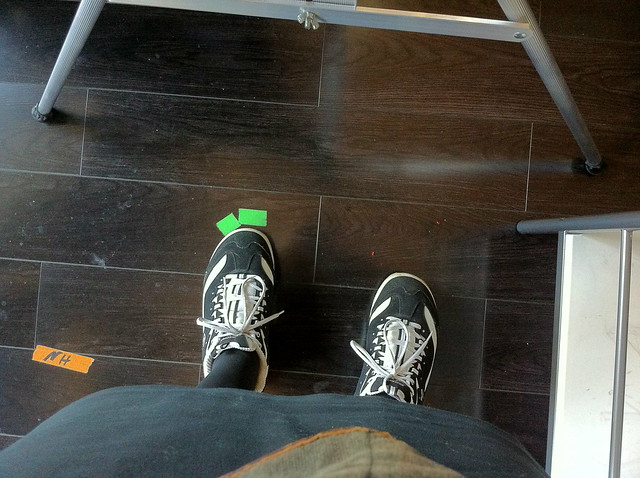
When working on a painting, it is also important to tape your position. You want to remember the point of view you are painting from. If you move a little to the left or right each time, you are not observing the specific situation. Taping your feet or chair is a good way to keep track of your spot. It is not necessary to tape the easel. What's important here is keeping track of where your eyes are viewing the subject.
In the next post, I will share my notes about the drawing stage and the questions I tried to answer. Onward!
5 comments:
Julia, This is wonderful information. Thank you so much for taking the time to write all of this!
Excellent info Julia thanks so much for sharing. You are SO lucky to be just down the street...some day...some day ;)
One question that I always wonder about but not sure that it matters, the still life setup, is there a height/distance from easel that works best or is it just a matter of preference?
oops duh I just meant distances as height of bookshelf is kinda obvious :) long day :)
Hi Tracey!
Actually I had exactly the same question about the distance to the set up, too! The next blog post deals with drawing and I talk about where to place the easel and why. I probably won't be able to publish the post until late next week, like around Thursday - Friday. So glad I'm not the only one who was wondering!
Sadie's Atelier is really beautiful. She's such a great teacher too!
thank you for posting all this information. I had a lot of the same questions--great answers.
Judy
Post a Comment